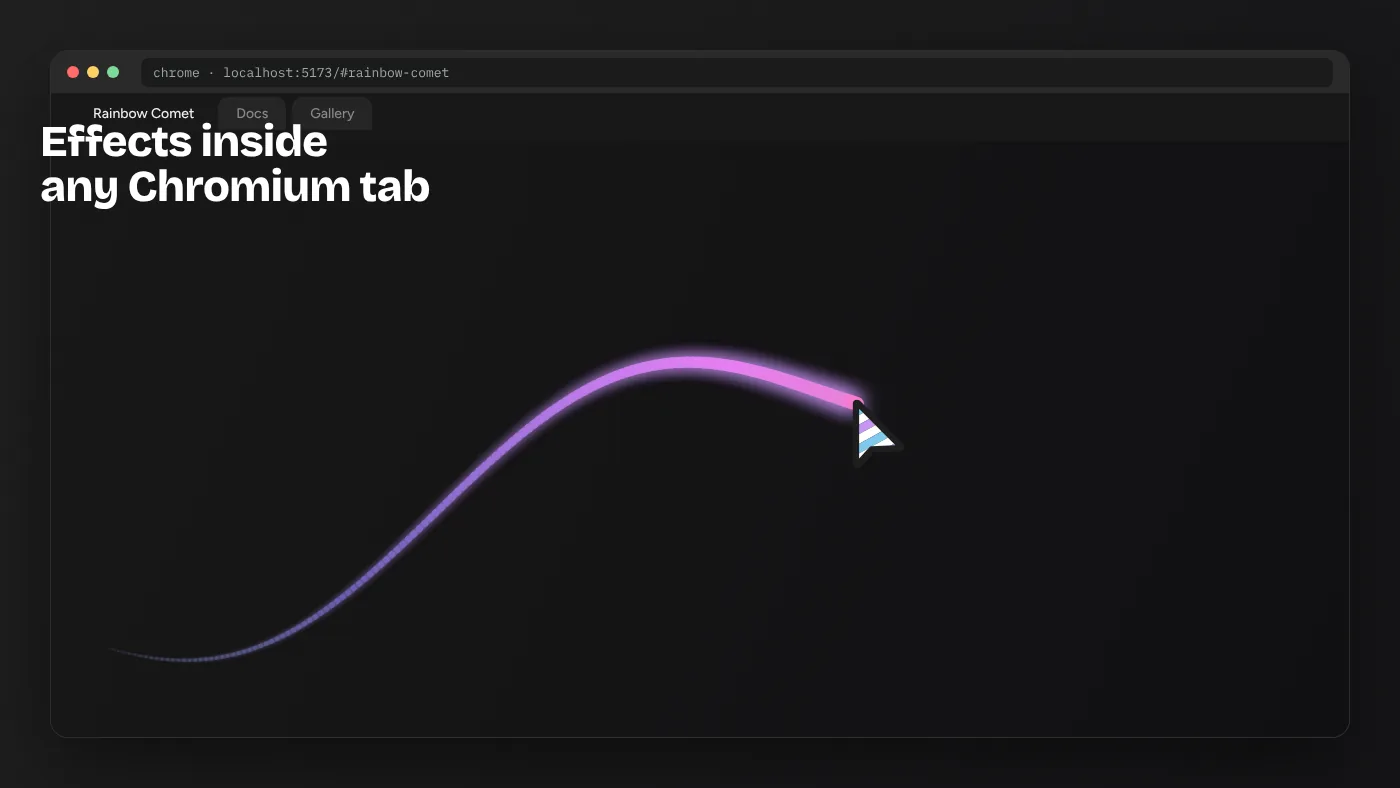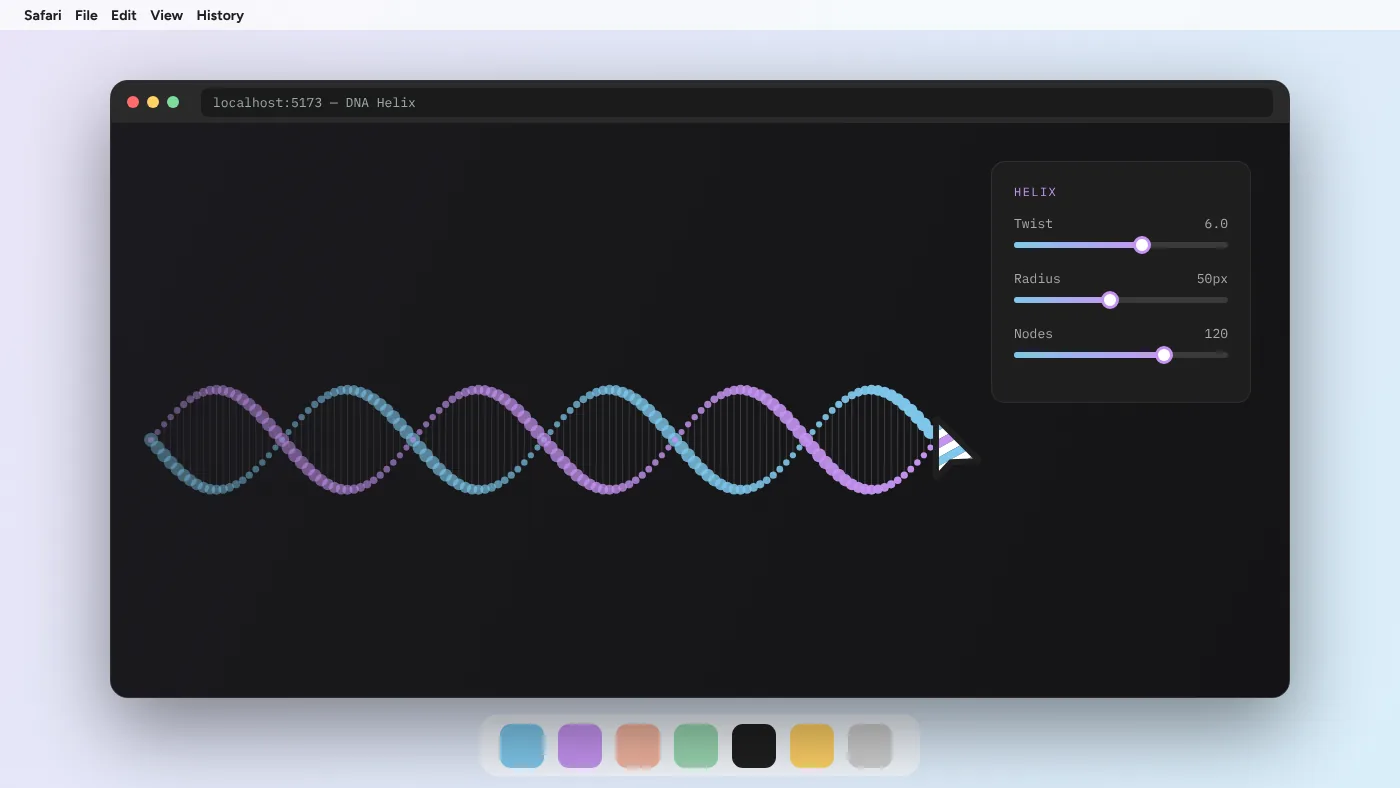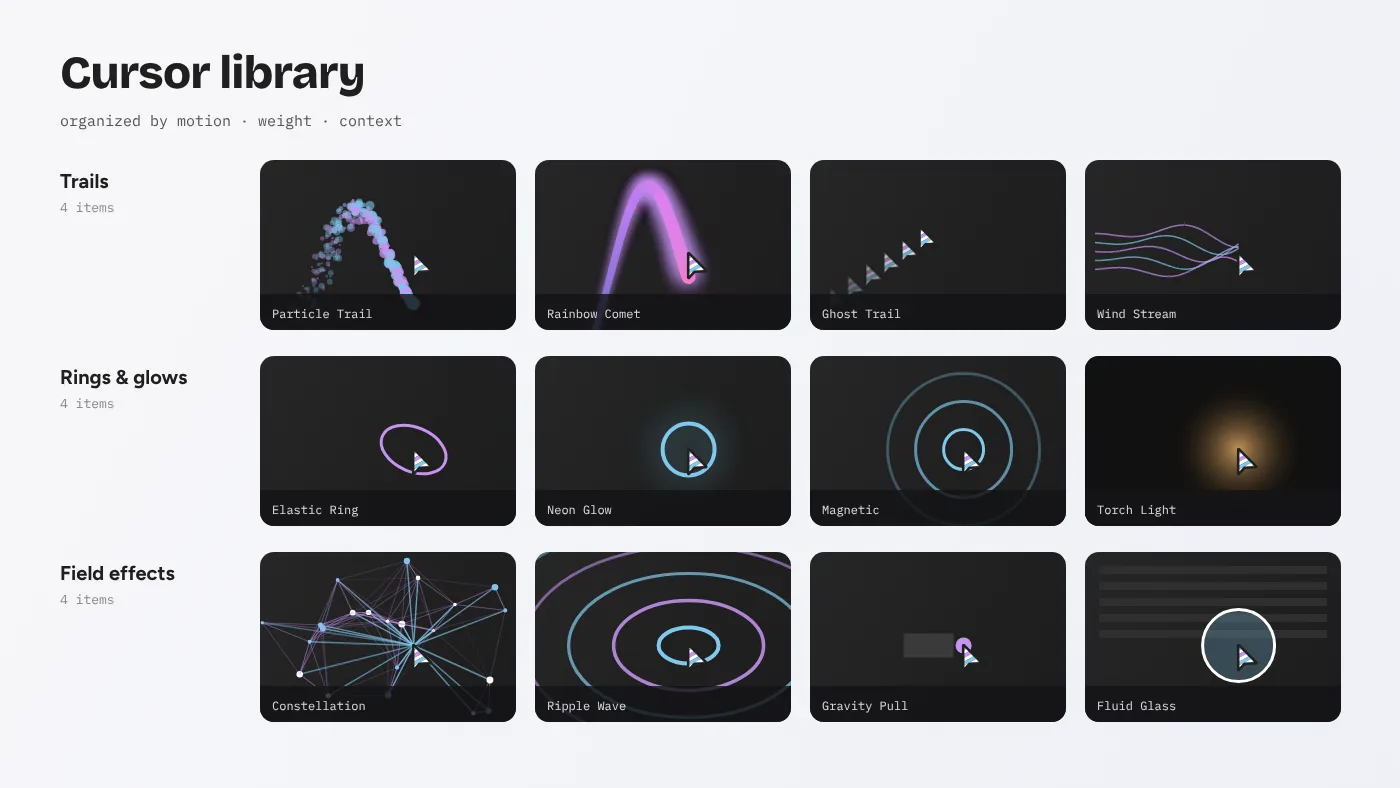
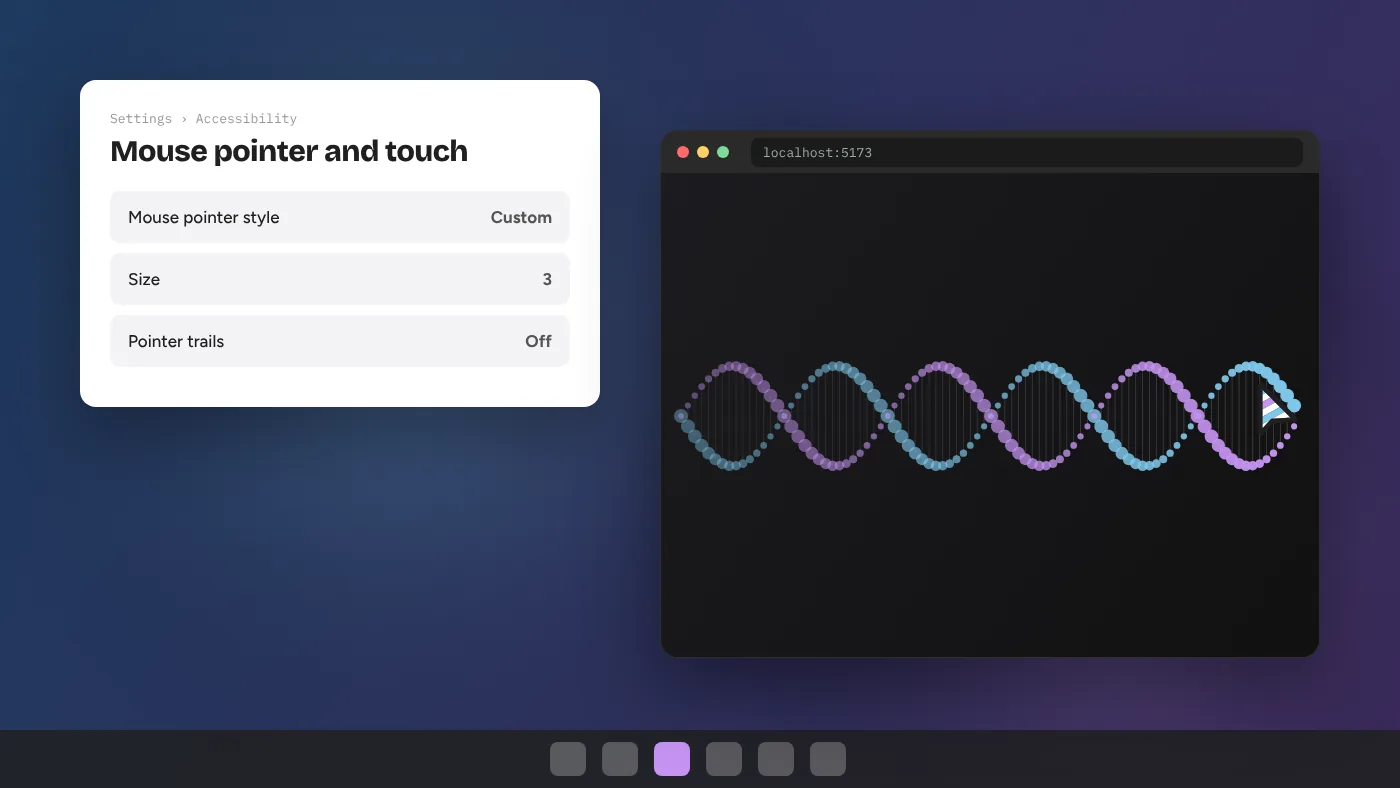
Windows 11 gives you two very different kinds of custom cursor. One changes the arrow everywhere on your PC. The other turns the pointer into an animated, physics-driven effect inside web pages. This guide sets up both and explains when each one makes sense.
Two meanings of “custom cursor” on Windows 11
When someone searches for a custom cursor for Windows 11, they usually mean one of two things. The first is a system pointer: the arrow, hand, text beam and busy spinner that Windows draws over every application. These are image files in the .cur (static) or .ani (animated) formats, loaded through the Mouse Properties dialog. The second is an interactive web cursor: code running inside a browser tab that draws trails, rings or particles around the pointer and reacts to speed, clicks and nearby elements.
Cursor Custom belongs to the second group. The CursorX package you download from this site is a React gallery of 24 effects that runs in Chrome, Edge or Firefox on Windows 11. It does not touch the system arrow, and that is deliberate. A system pointer is about visibility and personal taste. A web cursor effect is about how a website feels to every visitor. Knowing which one you want saves a lot of time, so let’s handle both properly.
Part 1: Changing the system pointer in Windows 11
Windows 11 already includes more cursor control than many people realise, and for most accessibility needs it is all you require.
Size and colour from Settings
- Open Settings with Win + I.
- Go to Accessibility → Mouse pointer and touch.
- Choose a Mouse pointer style: white, black, inverted, or Custom, which lets you pick any colour.
- Drag the Size slider. Values from 1 to 15 scale the pointer smoothly without blurring, because Windows 11 renders its default cursors from vector sources at each size.
The inverted style is underrated. It flips the colour of whatever is underneath, so the pointer stays visible on both white documents and dark video. If you struggle to find the cursor on a large or high-resolution display, start here before installing anything.
Loading a full pointer scheme
For a themed set of cursors, you need the classic Mouse Properties dialog:
- In Settings, open Bluetooth & devices → Mouse → Additional mouse settings.
- Switch to the Pointers tab.
- Pick a built-in scheme from the dropdown, or select a role such as Normal Select and click Browse to load a
.curor.anifile. - Click Save As to store the combination as a named scheme, then Apply.
Many downloadable cursor packs include an install.inf file. Right-clicking it and choosing Install copies the files to C:\Windows\Cursors and registers the scheme so it appears in the dropdown. On Windows 11 the Install option may sit under Show more options in the context menu.
Safety with system cursor packs
A legitimate cursor pack contains image files and, at most, an .inf text file. Be suspicious of any “cursor installer” that arrives as an .exe or .msi, asks for administrator rights, or wants to run at startup. Cursors are images; they never need a background service. Our download safety checklist covers how to inspect an archive before opening it.
Part 2: Running interactive Cursor Custom effects on Windows 11
Interactive effects need a small development environment, but the setup is short and you only do it once.
Step 1 — Install Node.js
Visit nodejs.org and download the Windows installer for the current LTS release. Version 18 is the minimum; 20 or 22 is a better choice today. Keep the default options in the installer, especially Add to PATH. When it finishes, close any terminal windows you already had open. PATH changes only apply to terminals started after installation, and forgetting this step causes the most common error on Windows: 'npm' is not recognized as an internal or external command.
To confirm the install, open a new terminal and run:
node -v
npm -v
You should see version numbers such as v22.x and 10.x.
Step 2 — Download and extract the package
Use the download button on the download page. Your browser saves CursorX-Interactive-Cursor-Effects-main.zip to the Downloads folder. Right-click the file, select Extract All, and pick a short destination such as C:\dev\cursorx. Short paths matter on Windows: deeply nested folders inside OneDrive can push node_modules paths past the 260-character limit on older configurations, and OneDrive syncing thousands of dependency files slows everything down.
Step 3 — Open a terminal in the folder
Windows 11 makes this easy. Open the extracted folder in File Explorer, right-click an empty area and choose Open in Terminal. Windows Terminal opens PowerShell already pointed at the right directory. On Windows 10, click the File Explorer address bar, type powershell and press Enter.
Step 4 — Install dependencies and start
npm install
npm run dev
The first command downloads React, Vite and a few development tools into node_modules. It takes under a minute on a normal connection. The second starts the Vite development server and prints a line like Local: http://localhost:5173/. Hold Ctrl and click that link, or paste it into Chrome or Edge.
Step 5 — Allow the firewall prompt (or not)
Windows Defender Firewall sometimes asks whether Node.js may communicate on private networks. The gallery only needs localhost, so you can safely choose Cancel. Allow it only if you want to open the gallery from a phone on the same Wi-Fi network.
Getting smooth performance on Windows laptops
Most Windows 11 laptops have two graphics processors: an integrated chip for battery life and a dedicated GPU for heavy work. Browsers usually run on the integrated one. That is fine for 22 of the 24 effects, but Fire Trail and Particle Trail with high particle counts can drop frames on older integrated graphics.
- Check hardware acceleration. In Chrome or Edge, open Settings → System and make sure Use graphics acceleration when available is on. Restart the browser after changing it.
- Assign the browser to the fast GPU. Settings → System → Display → Graphics lets you set Chrome or Edge to High performance.
- Watch power mode. On battery with Best power efficiency selected, Windows throttles the CPU and GPU. Switch to Balanced when you are testing animation.
- Match refresh rates. If you have a 120 Hz or 144 Hz display, set it in Display → Advanced display. The effects run on
requestAnimationFrame, so they automatically draw at your monitor’s rate.
Combining a system pointer with a web effect
Some effects in the gallery draw around the real pointer, while others hide it and draw their own. When you use a custom Windows scheme, the effects that keep the system pointer visible will show your scheme inside the browser as well. A large, high-contrast system pointer pairs well with subtle effects like Elastic Ring or Neon Glow. Busier effects such as Constellation or Mirror Ghost look cleaner with the default Windows arrow.
If you design websites, remember that your visitors will bring their own pointer settings. Someone using size 6 with the inverted style is relying on that pointer to navigate. Never hide the system cursor across a whole page; keep it visible on links, form fields and buttons.
Troubleshooting on Windows 11
| Symptom | Likely cause | Fix |
|---|---|---|
npm not recognized | Terminal opened before Node.js install | Close all terminals, open a new one |
| Scripts disabled error in PowerShell | Execution policy blocks npm.ps1 | Use Command Prompt, or run Set-ExecutionPolicy -Scope CurrentUser RemoteSigned |
EPERM during install | Antivirus or OneDrive locking files | Move the folder out of OneDrive and retry |
| Page loads but effects stutter | Acceleration off or power saving | Enable acceleration, switch to Balanced |
| Port 5173 busy | Previous server still running | Press Ctrl + C in the old terminal |
The PowerShell execution policy deserves a note. Some Windows installations block the small npm.ps1 shim that npm uses in PowerShell. Setting RemoteSigned for your user account is the standard developer setting and only affects scripts you run yourself. If you would rather not change it, Command Prompt works without any policy changes.
Keeping the gallery tidy on Windows
Once the gallery runs, a few habits make return visits faster. Pin the project folder to Quick Access in File Explorer so you can reopen it with one click. When you finish a session, press Ctrl + C in the terminal and confirm with Y to stop the server cleanly, rather than closing the window while it runs. Next time, you only need npm run dev; the dependencies are already installed. If you download a newer version of the package later, extract it into a fresh folder and run npm install again there instead of copying files over the old one, so leftover dependencies cannot cause confusing errors.
Which approach should you choose?
If your goal is to see the pointer more easily or give your desktop a personal look, use Windows Settings and a trusted pointer scheme. It is free, built in, and applies everywhere. If your goal is to design how a website responds to a visitor’s mouse — for a portfolio, a product launch or a teaching demo — use the Cursor Custom gallery. You will spend three minutes on setup, then have 24 tunable effects with real source code you can move into a project.
Plenty of people end up using both: a comfortable, visible system pointer for daily work, and interactive web cursors for the sites they build. With the steps above, Windows 11 handles each without conflict.
Next step: once the gallery is running, read the performance guide before shipping any effect, so your Windows test machine is not the only place it runs smoothly.