macOS is stricter about the cursor than Windows. There is no pointer scheme dialog and no built-in way to load animated cursors. Yet the Mac is one of the best places to build and preview interactive web cursors. Here is what you can change, what you cannot, and how to run Cursor Custom on Apple hardware.
What macOS lets you change natively
Apple treats the pointer mainly as an accessibility element. The controls are in one place and they are good:
- Open System Settings from the Apple menu.
- Select Accessibility → Display, then scroll to the Pointer section.
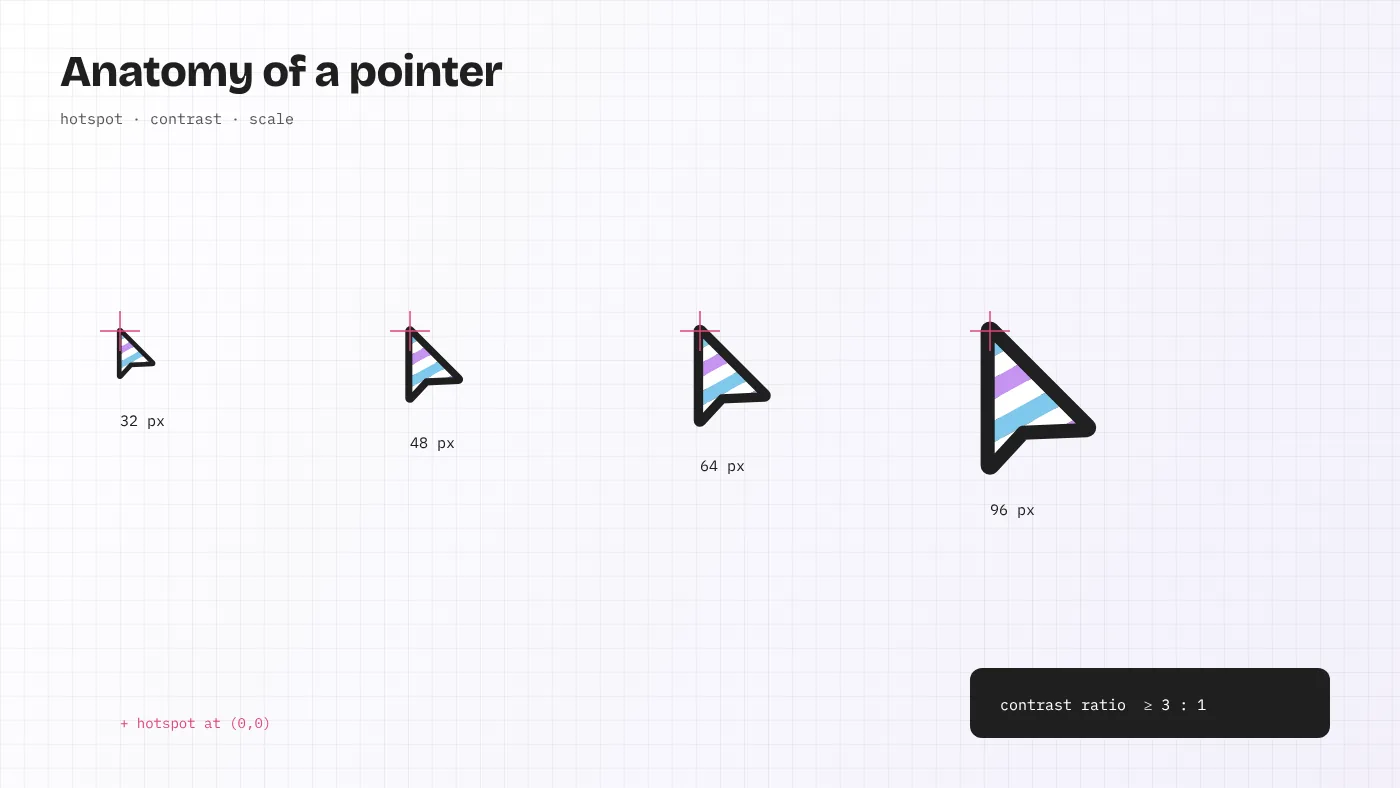
- Adjust Pointer size with the slider.
- Set Pointer outline colour and Pointer fill colour. A dark fill with a light outline is extremely readable on bright displays.
- Leave Shake mouse pointer to locate turned on. A quick wiggle makes the cursor briefly grow, which is handy on large or multiple monitors.
The colour options arrived in macOS Monterey (version 12) and remain in Ventura, Sonoma, Sequoia and later releases. Reset returns to the standard black arrow with white outline.
Why there is no “cursor pack” on a Mac
Windows reads .cur and .ani files through a public dialog. macOS has no equivalent. The system cursor images live inside protected framework bundles, and System Integrity Protection prevents changing them. Third-party utilities exist that draw a replacement pointer on top of the real one, but they rely on accessibility and screen-recording permissions and can break after major OS updates.
That leaves Mac users with two sound options: tune the native pointer in Accessibility settings, and use interactive cursor effects where they make the most sense — on websites. The second option is what Cursor Custom is built for.
Setting up Cursor Custom on macOS
Step 1 — Install Node.js
You have two good routes:
- Official installer: download the macOS
.pkgfor the LTS release from nodejs.org. It is a universal build that runs natively on both Apple silicon (M-series) and Intel Macs. - Homebrew: if you already use it, run
brew install node.
Confirm with node -v in Terminal. You need version 18 or newer; 20 or 22 is the better choice.
Step 2 — Download and unzip
Click the download button on the download page. Safari unzips archives automatically into ~/Downloads when “Open safe files after downloading” is enabled. Chrome leaves the ZIP; double-click it to extract. Move the resulting folder to a permanent location such as ~/Developer/cursorx.
Avoid keeping the project in an iCloud-synced Desktop or Documents folder. After npm install, the node_modules directory contains thousands of small files. iCloud will try to upload all of them and may evict files from local storage, which breaks the dev server unpredictably.
Step 3 — Open Terminal in the folder
The quickest method: type cd (with a trailing space) in Terminal, drag the project folder from Finder into the window, and press Return. Alternatively, enable New Terminal at Folder under System Settings → Keyboard → Keyboard Shortcuts → Services, then right-click the folder in Finder.
Step 4 — Install and start
npm install
npm run dev
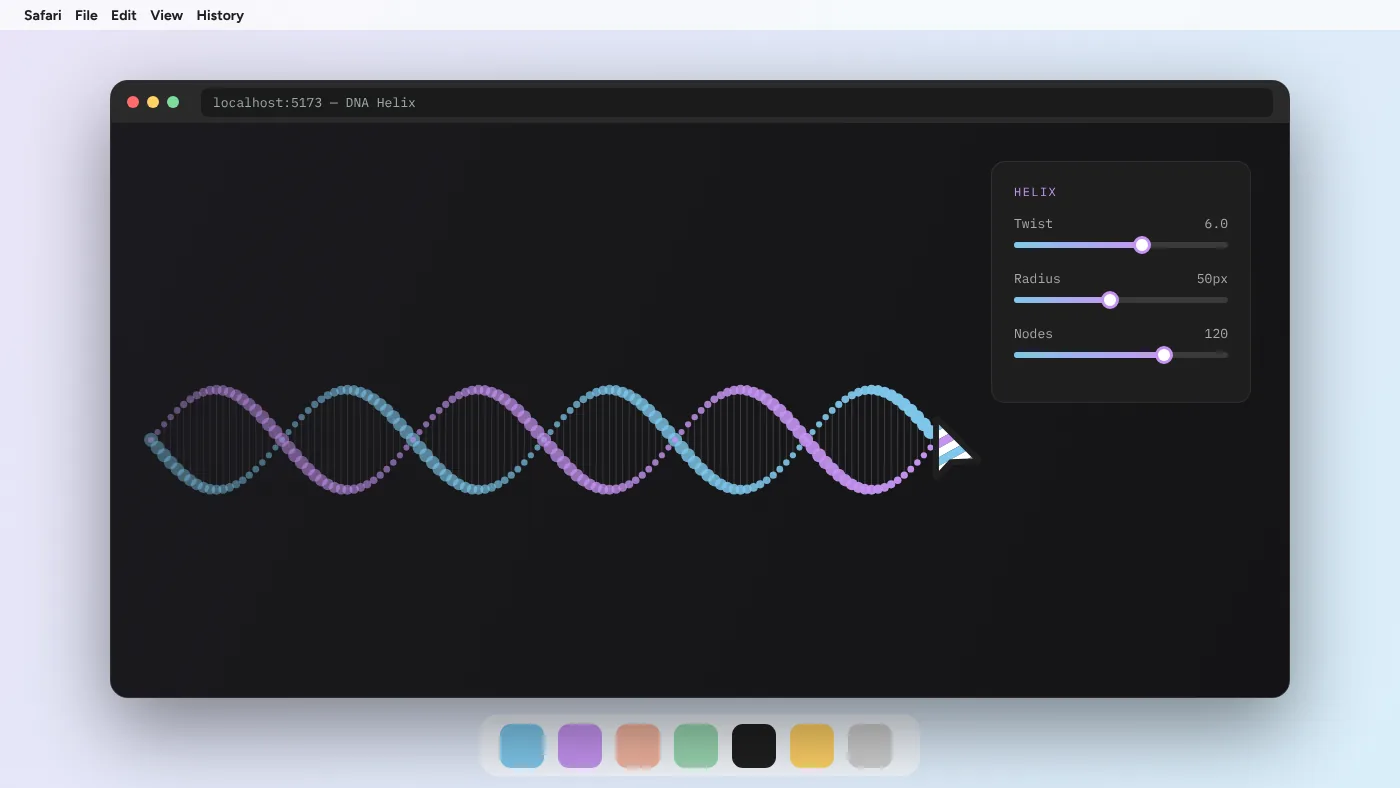
Vite prints a local address, normally http://localhost:5173/. Hold Cmd and double-click it in Terminal, or paste it into your browser.
Safari, Chrome or Firefox on a Mac?
All three render the gallery. Each has quirks worth knowing when you judge an effect.
| Browser | Strengths for cursor work | Watch for |
|---|---|---|
| Safari | Excellent battery efficiency, ProMotion support up to 120 Hz on recent MacBook Pro models | Canvas shadow blur is relatively expensive; trim glow radii on Fire Trail and Rainbow Comet |
| Chrome | Best profiling tools, consistent with most visitors | Higher memory use with many tabs open |
| Firefox | Strong standards support, good for cross-checking | Gooey SVG filters can look slightly softer |
If you design for the public web, check every effect in Safari as well as Chrome. A large share of Mac and iPhone visitors browse with Safari, and its rendering of blend modes and filters is not identical to Chromium.
Trackpads, Magic Mouse and pointer feel
Mac users mostly navigate with trackpads, and trackpad motion differs from a mouse. Movements are smoother but often slower, and macOS applies its own acceleration curve. Effects that rely on velocity — Pixel Shatter, Elastic Ring and Wind Stream — produce gentler results with a trackpad. When tuning in the gallery, try both input types if you can. A stiffness value that feels lively with a mouse may feel sluggish with a trackpad.
Also consider Tracking speed in System Settings → Trackpad. Testing at a medium setting gives a fair picture of how most visitors will experience the effect.
Retina displays and canvas sharpness
Every recent Mac has a high-density Retina display with a device pixel ratio of 2. A canvas drawn at its CSS size looks soft on these screens. Well-built effects multiply the canvas backing store by window.devicePixelRatio and scale the drawing context to match. When you adapt a gallery effect into your own project, keep that logic. Capping the ratio at 2 is a sensible compromise: it stays sharp on Retina screens without quadrupling pixel work on unusual displays.
Common Mac problems and fixes
command not found: npm— Node.js is not installed, or Terminal was open during installation. Quit Terminal completely with Cmd + Q and reopen it.EACCESpermission errors — never usesudo npm installfor a project. Make sure the project folder belongs to your user account, or reinstall Node.js via Homebrew or nvm.- “Developer cannot be verified” dialogs — these do not apply here, because the package contains no apps or binaries. If you see one, you have opened something other than the source archive.
- Effects look blurry — check the canvas device pixel ratio handling mentioned above.
- Fans spin up — reduce particle counts and close unused tabs. Apple silicon handles the gallery easily, but older Intel MacBooks run warm with several heavy canvas effects.
Using effects on your own site, from a Mac
When you are ready to move an effect out of the gallery, the workflow is identical on any platform: open the code modal, copy the hook or component, add it to your React project and pass your tuned values. Before publishing, test in Safari on macOS and, if possible, on an iPhone or iPad. Touch devices have no hover pointer, so disable pointer-following effects there with a (pointer: fine) media query and keep the page fully usable without them.
Testing on iPhone and iPad from your Mac
Many visitors to a Mac-designed site arrive on iOS. You can test the gallery on an iPhone or iPad on the same Wi-Fi network:
- Stop the server and start it with
npm run dev -- --host. Vite then prints a network address such ashttp://192.168.1.20:5173. - Allow incoming connections if macOS asks.
- Open that address in Safari on the iPhone or iPad.
You will notice immediately that hover-following effects make little sense on touch. A finger has no resting position, so trails only appear while you drag. Tap-based feedback such as Ripple Wave still works. This is exactly why production sites should check (pointer: fine) before mounting pointer-following effects. An iPad with a trackpad or Apple Pencil hover is the interesting exception; it reports a fine pointer and shows the effects much as a Mac does.
Note that the copy button in the gallery will not work over a network IP, because the Clipboard API requires https or localhost. That limitation only affects testing from other devices.
Mac keyboard shortcuts worth knowing for this workflow
| Shortcut | What it does |
|---|---|
| Cmd + Space, type “Terminal” | Opens Terminal quickly |
| Ctrl + C in Terminal | Stops the Vite dev server |
| Cmd + Option + I | Opens developer tools in Chrome; in Safari, after enabling the Develop menu |
| Cmd + Shift + R | Hard-reloads the page if styles look stale |
| Cmd + Shift + 5 | Records the screen, useful for sharing an effect with your team |
To profile in Safari, first enable Safari → Settings → Advanced → Show features for web developers. The Timelines tab in Web Inspector then shows frame rendering much like Chrome’s Performance panel.
Reduced motion on macOS
macOS has a system-wide Reduce motion switch in System Settings → Accessibility → Display. Browsers expose it to websites through the prefers-reduced-motion media query. Turn it on while testing your site: any cursor trail or physics effect you ship should calm down or disappear. It is a quick way to check you are treating these visitors with care, and the setting is used by more people than most designers expect.
Building for production on a Mac
When you want to publish your own copy of the gallery, run npm run build. Vite writes an optimised version into a dist folder. Preview it locally with npm run preview, which serves the built files exactly as a host would. The folder is plain HTML, CSS and JavaScript, so you can upload it to any static host. Apple silicon Macs complete this build in a few seconds, and the result runs identically for Windows and Linux visitors.
The practical takeaway
On a Mac, keep the system pointer simple and readable through Accessibility settings, and put creative cursor work where macOS allows full freedom: in the browser. The Cursor Custom gallery runs natively on Apple silicon and Intel, renders on Retina screens with full sharpness, and lets you judge every effect in Safari before any visitor sees it.
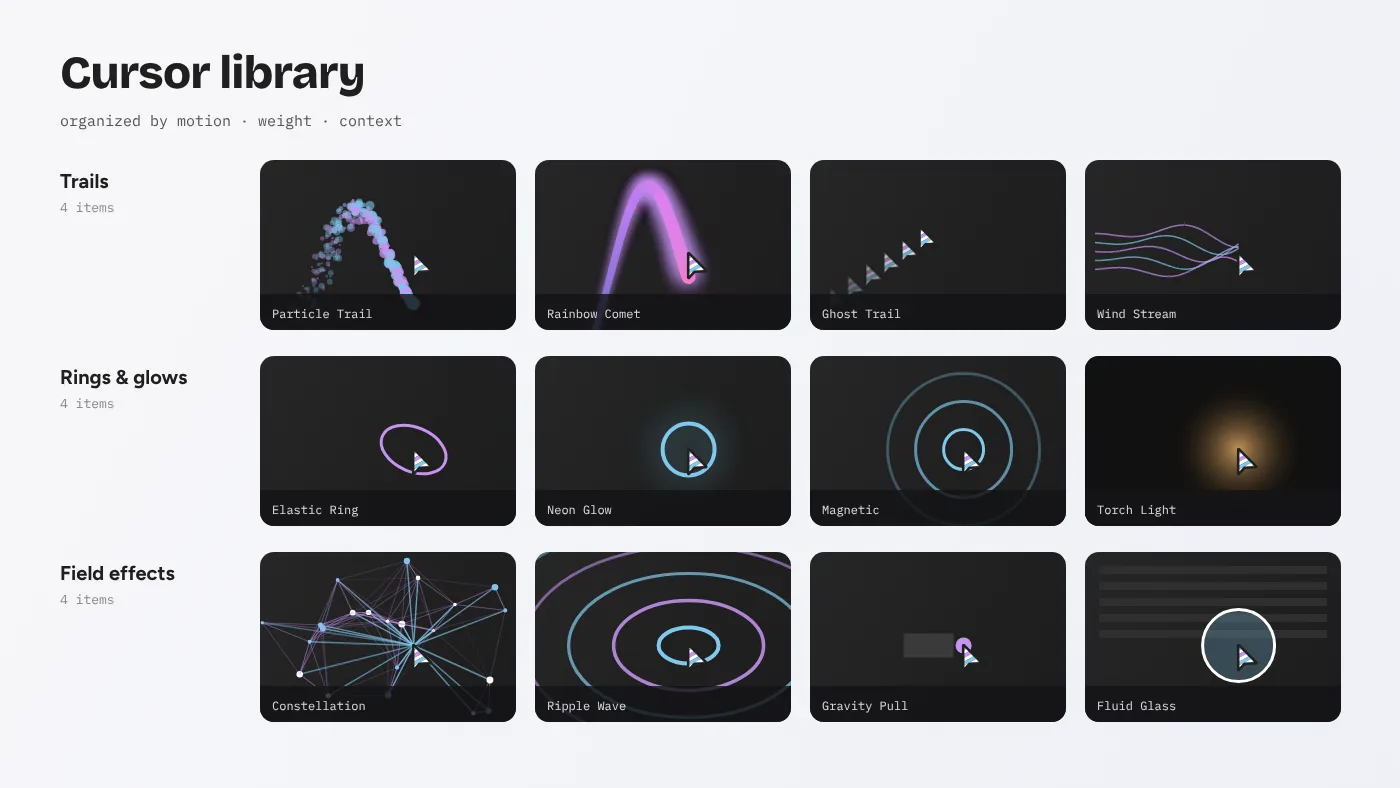
Organising effects for several projects? The cursor library guide shows a structure that scales.